Between 1957 and 1970 Cheoy Lee produced approximatley 133 folkboats originaly sold as the the Offshore 25, better known as the Frisco Flyer.
There were three versions of this small blue-water boat. 91 in all wood and 42 in Fiberglass with wood. There were 55 Type I's and II's and 78 of the Type III's. The Type I (aka the Pacific Clipper) was an all wood boat, had a mast that was stepped through the deck, a traditional folkboat fractional rig and a smaller cabin. The Type II's had a larger teak trunk cabin and a masthead rig. The Type III's had a larger teak dog-house cabin, some "standing" headroom and a masthead rig stepped on deck. The earlier Type III's were solid teak built onto a fiberglass hull and the later Type III’s (1966-1970) were made entirely out of fiberglass with teak paneling.
This boat, Yard # 1507 is one of approximatley only 30 Type III's left. It was out of the water for the previous 16 years when I got it and then about another 5 more while I rebuilt it. It was an empty, cracked hull when given to me and needed a complete restoration/refit. It took about five years of long nights and weekends of working outside under a tarp, in the garage or in the boat during cold winter nights, wet rainy afternoons and everything in between. The occasionally eager assistant on the project was my four (now ten) year old daughter who can have this boat as soon as I convince her mother to get another one. This blog is the record of all the work that "we" have done to the boat as well as some other somewhat related events with friends and family. Eventually, this will be put together in a book which will stay with the boat.
She still has plenty more to go but for now, Jackaroe has been in the water for a couple years now and thats all that matters...
To see past projects, use the links below.
Questions and comments to Matthewearlgarthwait@gmail.com
To see past projects, use the links below.
Questions and comments to Matthewearlgarthwait@gmail.com
Showing posts with label Inside. Show all posts
Saturday, October 9, 2010
New(er) Countertops.
While I had made a stainless counter for the sink....I liked the idea of boat sides being wood... I made these with some scrap mahogany...

Saturday, September 25, 2010
Reinforcing/tabbing bulkheads....
Back in May, I sanded, vacuumed, washed with solvent, then laid down some mat and cloth fiberglass. A couple layers on all the corners under the seating and cabinets. I wanted to paint these areas but thought it would be a good idea to reinforce them first.


After all the glass was in, sanded, vacuumed, wiped down with solvent, and finally given a couple of coats of Interlux one part poly. Now the hull will be sealed from water intrusion, inside and out!
Saturday, May 8, 2010
Sheerclamp nightmare….
I was checking my handywork on the starboard side sheerclamp and while the big piece of oak that I had put in last year was bomb proof, I did find a little more rot on both sides. I haven’t really decided how to handle this yet. Part of me wants to clean out all rotten bits from the inside before replacing it with new wood, all from the inside. The other idea I had which could be easier in some ways but more painful in others would be to open up two small holes in the bow and after cleaning out all the rot from the inside, I could slide in new pieces in from the bow openings and epoxy in place. Not quite sure on this one yet. I hate having to go back and do some of this stuff after the rest of the boat has come so far. We’ll see.
Green paint….
Green paint….
Going back into the boat after a while and looking at the way the dust, dirt and little bits end up in all the little corners and creases under the seats and berths in the cabinhouse. I’m sure looks like this would only get worse once the boat was being used all the time. I wanted to have a different color than the white so I found an old can of one part epoxy paint. It was sea green, a left over from a half hull project my dad had worked on about 6 years ago or so. Opened the can, mixed it with a drill and gave all the lower areas a coat of green which should do a better job of hiding the dirt, grime and water stains etc.
Sunday, March 28, 2010
stainless countertops...
This weekend, I spent Saturday pouring still more epoxy and sanding the deck fair. It takes so long for it to cure in this weather! It looks pretty good to me at this point and it will probably be all set for fiberglass. I can still fair it some more later if I think needs it.
On Sunday, I set about working on the counter tops. I ended up calling around to see if anyone knew where I could get some 316 Stainless sheeting. Steve had some left over from a project and after a few hours of cutting and grinding, the sink and faucet look great with the stainless counter tops...They're just dry fitted at this point and the stainless still needs to be bedded to to the plywood base. When that's done, I'll trim them out with teak molding and I guess it'll be time to check the sink through hull before plumbing it.
I finished in a hurry because the weather was starting to turn for the worse and I wanted to get the boat closed up so I didn't take any pictures. Maya and I will take a look at it tomorrow after work/school.
Tuesday, May 27, 2008
First coats of primer and some counter tops...
The weather was great and kid and I went out to uncover the boat yesterday. It was good to see the inside of the boat for the first time in a while even if it was a mess. We started by picking up all the trash and old tools etc. She then wiped everything down and cleaned the windows and picked up her "room"(If only it was this easy to clean her room in the house). Then, we sanded the cabin house top. Thats the part that's covers her room, as she kept reminding me). When she discovered it was easier to use the electric sander than to do it the "old fashion way", things moved along quickly and we sat in the sun while putting on a couple of coats of a high build primer.

Pulling the cover off.

She makes a nice figure head.

Priming 'her roof".


Nice and white.

Counter tops, finally
This is a good place to ask...What was her mother doing while we were having such a great time? She drove up north for a couple hours to go climbing, except when they got there, she realized that neither she or her climbing partner remembered to bring a critical piece of their equipment...the rope. So,when she came back frustrated, having driven four hours in holiday traffic, while the kid and I had been having a great time sitting in the sun working on the boat, it seemed like another check in the win column for me in the ongoing battle to persuade Maya to like boats or rock climbing. (Although she did climb a local small mountain the day before so maybe it was a wash.)

Hiking Aggy.
All in all it was a great weekend.
Things with the boat are going smoothly again and while there is still a lot to do, my main focus is keeping the !@#$%*$ carpenter ants off of the boat.
Pulling the cover off.
She makes a nice figure head.
Priming 'her roof".
Nice and white.
Counter tops, finally
This is a good place to ask...What was her mother doing while we were having such a great time? She drove up north for a couple hours to go climbing, except when they got there, she realized that neither she or her climbing partner remembered to bring a critical piece of their equipment...the rope. So,when she came back frustrated, having driven four hours in holiday traffic, while the kid and I had been having a great time sitting in the sun working on the boat, it seemed like another check in the win column for me in the ongoing battle to persuade Maya to like boats or rock climbing. (Although she did climb a local small mountain the day before so maybe it was a wash.)
Hiking Aggy.
All in all it was a great weekend.
Things with the boat are going smoothly again and while there is still a lot to do, my main focus is keeping the !@#$%*$ carpenter ants off of the boat.
Saturday, April 19, 2008
"New" Dragons for Jack A Roe!
The other day I received an email from a Flyer owner out West who is restoring his 1968 Type II (a well known Flyer named Steppenwolf, which had a brief moment of fame when it appeared prominently in a 1984 movie named "Thief of Hearts"). He knew that I was looking for these carved dragons that were in some of the earlier Cheoy Lees and he very generously offered his to me and the Jack A Roe restoration. Despite my offering to pay for them and/or for their shipping they were sent along to me free of charge. I was however able to persuade the sender (also named Matthew, so no surprise he is a good guy) to accept a bottle of Bourbon.
They just arrived and look great! They are designed to fit between the portlights in the cabin of a Mark II. Jack A Roe has larger portlights so they wont fit in the same spot but I expect to use them up in the bow flanking the forward berth.
They are about 20 inches long, beautifully carved, perfectly matched with a slight taper from end to end.

They just arrived and look great! They are designed to fit between the portlights in the cabin of a Mark II. Jack A Roe has larger portlights so they wont fit in the same spot but I expect to use them up in the bow flanking the forward berth.
Detail
So, to Matthew (and Steppenwolf) in San Diego...Thank you, Thank you, Thank you for your generous contribution to my project.
A bottle of "shipwright's lubricant" is on its way!
(I'm still looking for the larger dragon that goes over head in the main cabin)
Friday, January 25, 2008
Gifts for me=Gifts for the boat..
I had a birthday the other day and got a couple of nice gifts for the boat.....A small 3 inch brass clock for the cabin and a solar powered/hand crank radio. The radio is being returned for another model that also charges a cell phone and does the dishes but the clock is staying. Right now, it's very much at home in the living room but will make it out to the boat soon.

Another great gift I was recently given ( X-mas) was a lantern for the main cabin in the boat. It's the larger version of the Weems and Plath lantern. Now the kid keeps saying that its for her and her room in the boat but I plan on getting her own smaller lantern for up forward. Right now, this too is at home in the the house and has been getting a lot of use.

The dog however could care less.
Another great gift I was recently given ( X-mas) was a lantern for the main cabin in the boat. It's the larger version of the Weems and Plath lantern. Now the kid keeps saying that its for her and her room in the boat but I plan on getting her own smaller lantern for up forward. Right now, this too is at home in the the house and has been getting a lot of use.
The dog however could care less.
Monday, October 1, 2007
Shelves, part one...
I've been putting off the shelves for one reason or another but finally got started on them tonight. The shelves are simple enough to make, just a couple of narrow pieces of Ply squeezed between the knees and bulkheads. One side cut to fit the curve/profile of the hull, the outside edge left straight to fit the teak trim rail I had varnished last winter. The shelves then sit on small blocks on the knees/bulkheads.
I cut them to fit tonight (which at 900pm made my neighbors happy), next time I'll sand and paint them white like the rest of the inside. Then cut the blocks, sand them and attach to the knees/bulkheads. Attach the trim pieces and their done.

Aft Port side. These are the Port and Strbd side pieces of ply. The piece across is the rail that will make up the edge of the shelf hold in the books, food and assorted junk.

Forward port side shelf in place. The piece on the cushion is the trim.

Forward Strbd shelf. Cut to fit the old knees, new knees and a place for the head plumbing. The piece on the shelf is the trim and the wood on the cushion are a bunch of 1/1 pieces of teak cut to make the braces/supports for the shelves. They will be cut with some kind of nice finish to any exposed edges and then varnished.
I cut them to fit tonight (which at 900pm made my neighbors happy), next time I'll sand and paint them white like the rest of the inside. Then cut the blocks, sand them and attach to the knees/bulkheads. Attach the trim pieces and their done.
Aft Port side. These are the Port and Strbd side pieces of ply. The piece across is the rail that will make up the edge of the shelf hold in the books, food and assorted junk.
Forward port side shelf in place. The piece on the cushion is the trim.
Forward Strbd shelf. Cut to fit the old knees, new knees and a place for the head plumbing. The piece on the shelf is the trim and the wood on the cushion are a bunch of 1/1 pieces of teak cut to make the braces/supports for the shelves. They will be cut with some kind of nice finish to any exposed edges and then varnished.
This what they should look like when done...
Cant wait to start filling them up.
Thursday, August 30, 2007
Portlights over pizza.
Before the cabin house sides get finished or the new decking goes down, I want to replace/reinstall the portslights. Over the last week or so, I've been cleaning up all the trim pieces that came off. They were really shot and in various states of neglect. Some had epoxy and others had old failed varnish and others seemed to have nothing on them at all and were covered in deep grooves where the grain had been exposed to the elements. Over the last few nights, I had been sanding and cleaning up the wooden trim pieces that cover the port lights. I then covered them with a couple coats of epoxy which essentially turned them into shiny pieces of rock hard plastic. Hopefully next week, they will go back on the the cabinhouse, over the glass, get bunged and will still need several coats of varnish for UV protection. The glass itself was basically OK. There was one broken portlight facing the bow up forward. That one was replaced and the rest seemed decent enough (some small scratches around the edges) to just clean up and reinstall. Maybe someday, in a few years I'll get new glass for all of them but not this time around.
Tonight's goal was to clean up, scrape off the old caulk, varnish and epoxy around the edges of the glass. I also had to make the kid dinner and be a good Papa, so I suggested to her that she eat her dinner out on the boat while I worked out there so we could hang out. She was so excited, you would have thought we were really going sailing. We went out there, she pulled out the little table in the cockpit area and ate her pizza, milk and yogurt while I scraped and cleaned the glass and did some other things. While we were doing this, she pretended to be on the water and the dogs who were running around under the boat, were sharks and the cars t at were driving by the house were other boats whose treasure she was going to take. She found the hidden drawer in the table and that where she plans to hide all her gold and silver in their. She made this disclosure to me in a wisper so the sharks, who were now pirates swimming around, didn't hear her plan.
We had a great time, I finished what I wanted to and we had a lot of fun together. I wished I could have taken some pictures of it, but the camera is waterlogged/broken from the sailing trip on the Cape.

Even I wont want to read this if there are no more pictures...I need to get a new camera soon.
Tonight's goal was to clean up, scrape off the old caulk, varnish and epoxy around the edges of the glass. I also had to make the kid dinner and be a good Papa, so I suggested to her that she eat her dinner out on the boat while I worked out there so we could hang out. She was so excited, you would have thought we were really going sailing. We went out there, she pulled out the little table in the cockpit area and ate her pizza, milk and yogurt while I scraped and cleaned the glass and did some other things. While we were doing this, she pretended to be on the water and the dogs who were running around under the boat, were sharks and the cars t at were driving by the house were other boats whose treasure she was going to take. She found the hidden drawer in the table and that where she plans to hide all her gold and silver in their. She made this disclosure to me in a wisper so the sharks, who were now pirates swimming around, didn't hear her plan.
We had a great time, I finished what I wanted to and we had a lot of fun together. I wished I could have taken some pictures of it, but the camera is waterlogged/broken from the sailing trip on the Cape.
Even I wont want to read this if there are no more pictures...I need to get a new camera soon.
Sunday, August 19, 2007
Inside almost finished...
This is what its looked like for about the last month or so while I was finishing all the glass work. I must have went through 100+ plastic gloves, 40 or so plastic cups and spoons, yards of cloth and more epoxy than I'm admitting to my domestic fiscal specialist, a full tube of boat life white caulk, sheets and sheets of sandpaper, a small can of high build primer and a large can of Old Salem, Petit yacht gloss white.
And this is a real sign of progress. For the last six months I wore boots, shoes and whatever I wanted inside this construction site of a boat and after this last push, for the time, I had the urge to take my shoes off before stepping on board because it looked so nice in there.
What a difference 6 months makes.....
In the boxes of bits that came with the boat, I found a Maximum inc. wind speed instrument (see port side) and a tide clock (strbd). The tide clock seems to work well enough with new batteries and a cleaning. The anemometer, I found out by sending a photo to the company, is the Vigilant model and is about 30 years old and it needs a new wind speed generator (the bit that goes on top of the mast). It requires no external power source, has a gust recorder and can measure wind up to 100 mph. I put them up high on the bulkhead because otherwise, I'd hit my head against them when leaning there.
Between Friday and Saturday, I spent sun up to sun down working on the boat. My mom ( Memere Kiki ) generously took the kid for the whole weekend) and we took full advantage of it, Maki went rock climbing and I sanded all the finished fiberglass, varnished the cabin sole and cabinet fronts, painted and caulked hanging locker walls, the aft section of the forward berth, the stringers etc under the deck. Sanded and painted again. This boat looks nothing like the empty hull I was sitting in with a space heater last January.
Knees finished
A shot of the knees that are above the head
The head (picture is not upright)
I didn't work too hard to make the space between the knees itself perfectly smooth because this area is covered by varnished slats. I have to alter the slats somewhat because I made new knees but they still look great. I'm also thinking of adding a shelf between the knees/ the knee and the bulkhead for toiletry stuff since the area does serve as the head (need to finish rebuilding the toilet and plumb it this winter).
I had some help with the trim pieces. She first tried the screwdriver but quickly figured out that the Dewalt cordless was much easier and more exciting.
Strbd and Port side up forward...
It looks better with the trim in place. I made the two blocks by the tiller to support a bar in the hanging locker for lines and clothes. They should look good when varnished.
Port and strbd foot wells
I still need to get a couple coats of paint on the inside of the footwells and varnish the cabinet fronts with 4 more coats of varnish...and make the counter tops....and plumb the sink... etc...
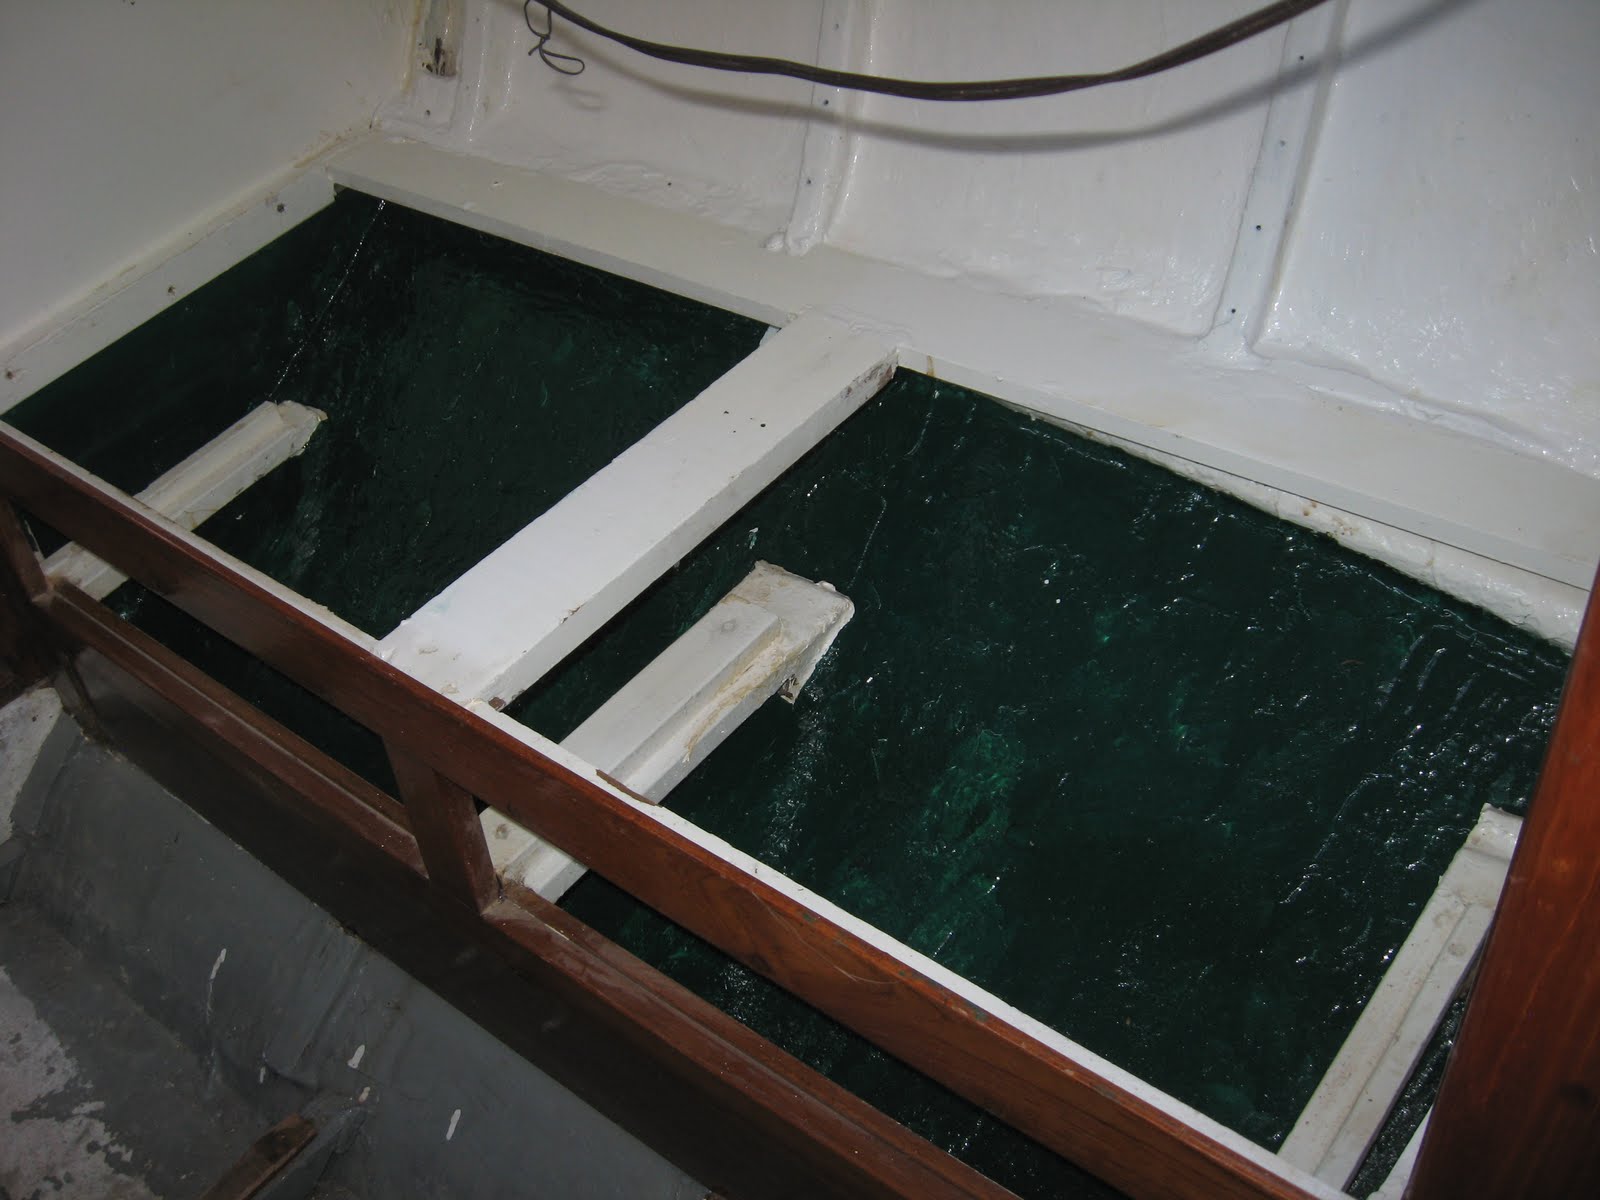
Port and strbd "saloon"
That varnished sole looks great. Friends came by and thought it was wet. I only put six coats on but it'll do for now. Maybe a couple more before launching.
Up forward, I put a couple coats of paint on the lower part of the berth. I still have a few pieces of trim to finish varnishing and put up. This winter I had about a hundred pieces of trim lying around my basement and now I'm down to just a hand full.
One of the next things to do is make the shelf that runs along the walls. I have the front of the shelf but have to make the brackets and shelf itself. There is one on each side of this main area, two more up forward and I think I'll add on in the hanging locker too. Lots of storage space on this little boat.
Later this fall I will finish the counter tops. I finally decided how to finish them. I have been thinking of a way to use the old teak decking and I decided on using the old inserts which are in good shape and building a "new" surface using the old deck. I'll leave them bare with white caulking instead of black. Even the flip up extensions can be made this way. It should look pretty good when done and is a nice use of the old boat bits.
Port side sink and sliding insert
Starboard side longer sliding insert.
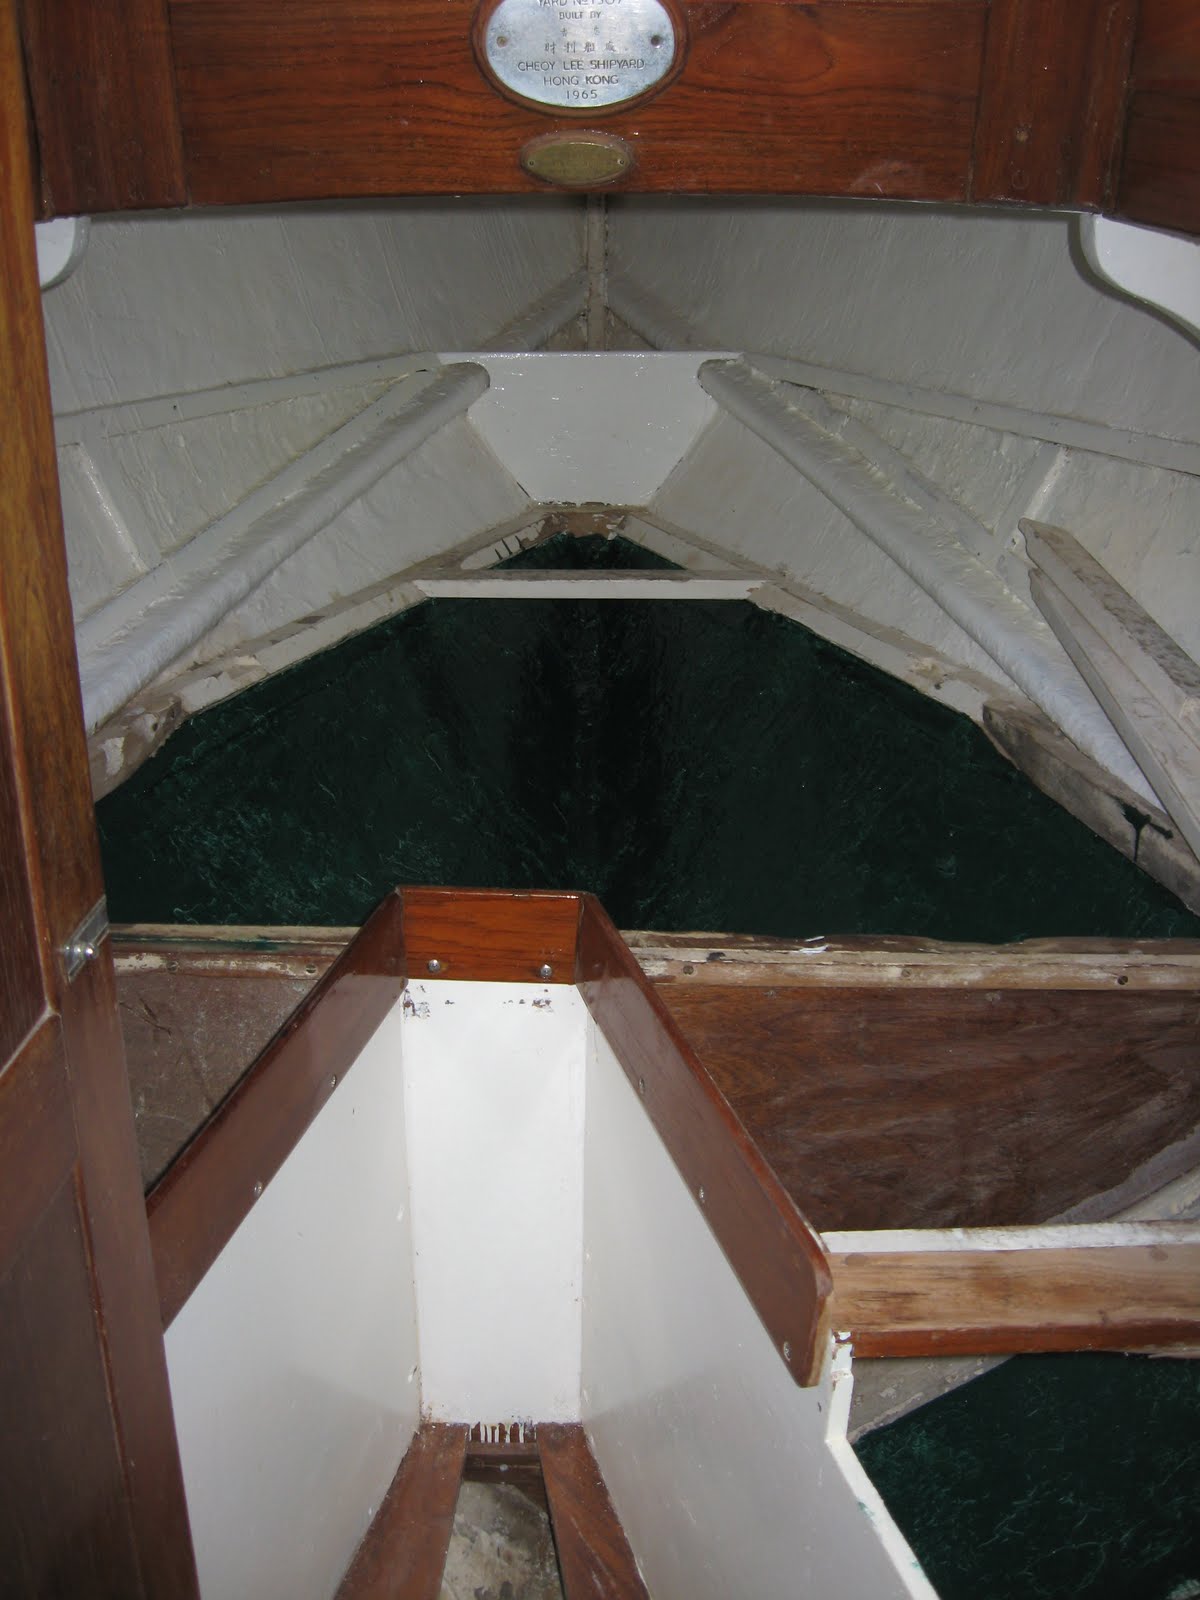
I also have to crawl forward to finish caulking and painting the underside of the deck in the v berth. Its a messy job with lots of fumes in a small space but I can get to this or any of the last touch ups little by little over the fall. No more structural work inside! All the projects inside now are just little ones (Including rewiring/plumbing the boat?)
Jan 2007 and August 2007.
Bilge done....
Finally got around to epoxying/tabbing in the ballast. Then painted with a few coats of grey bilge coat and with everything back together, it looks great.
Subscribe to:
Posts (Atom)