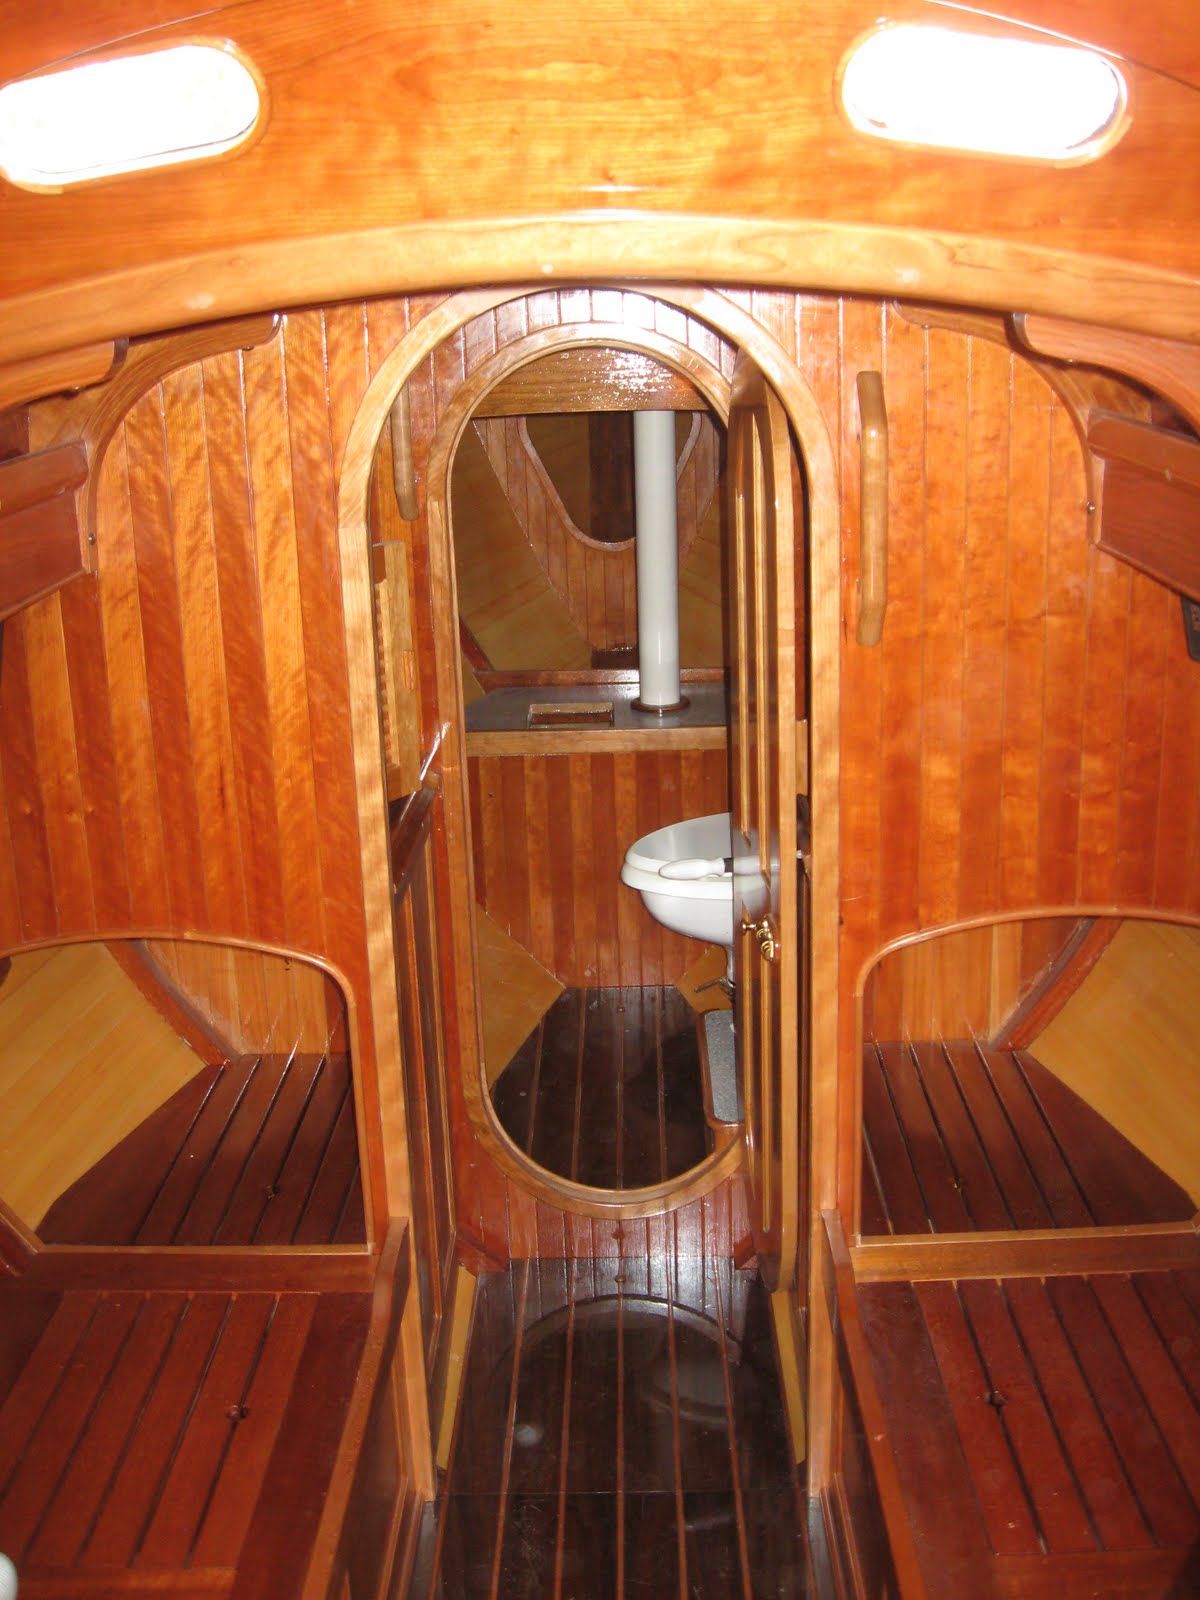
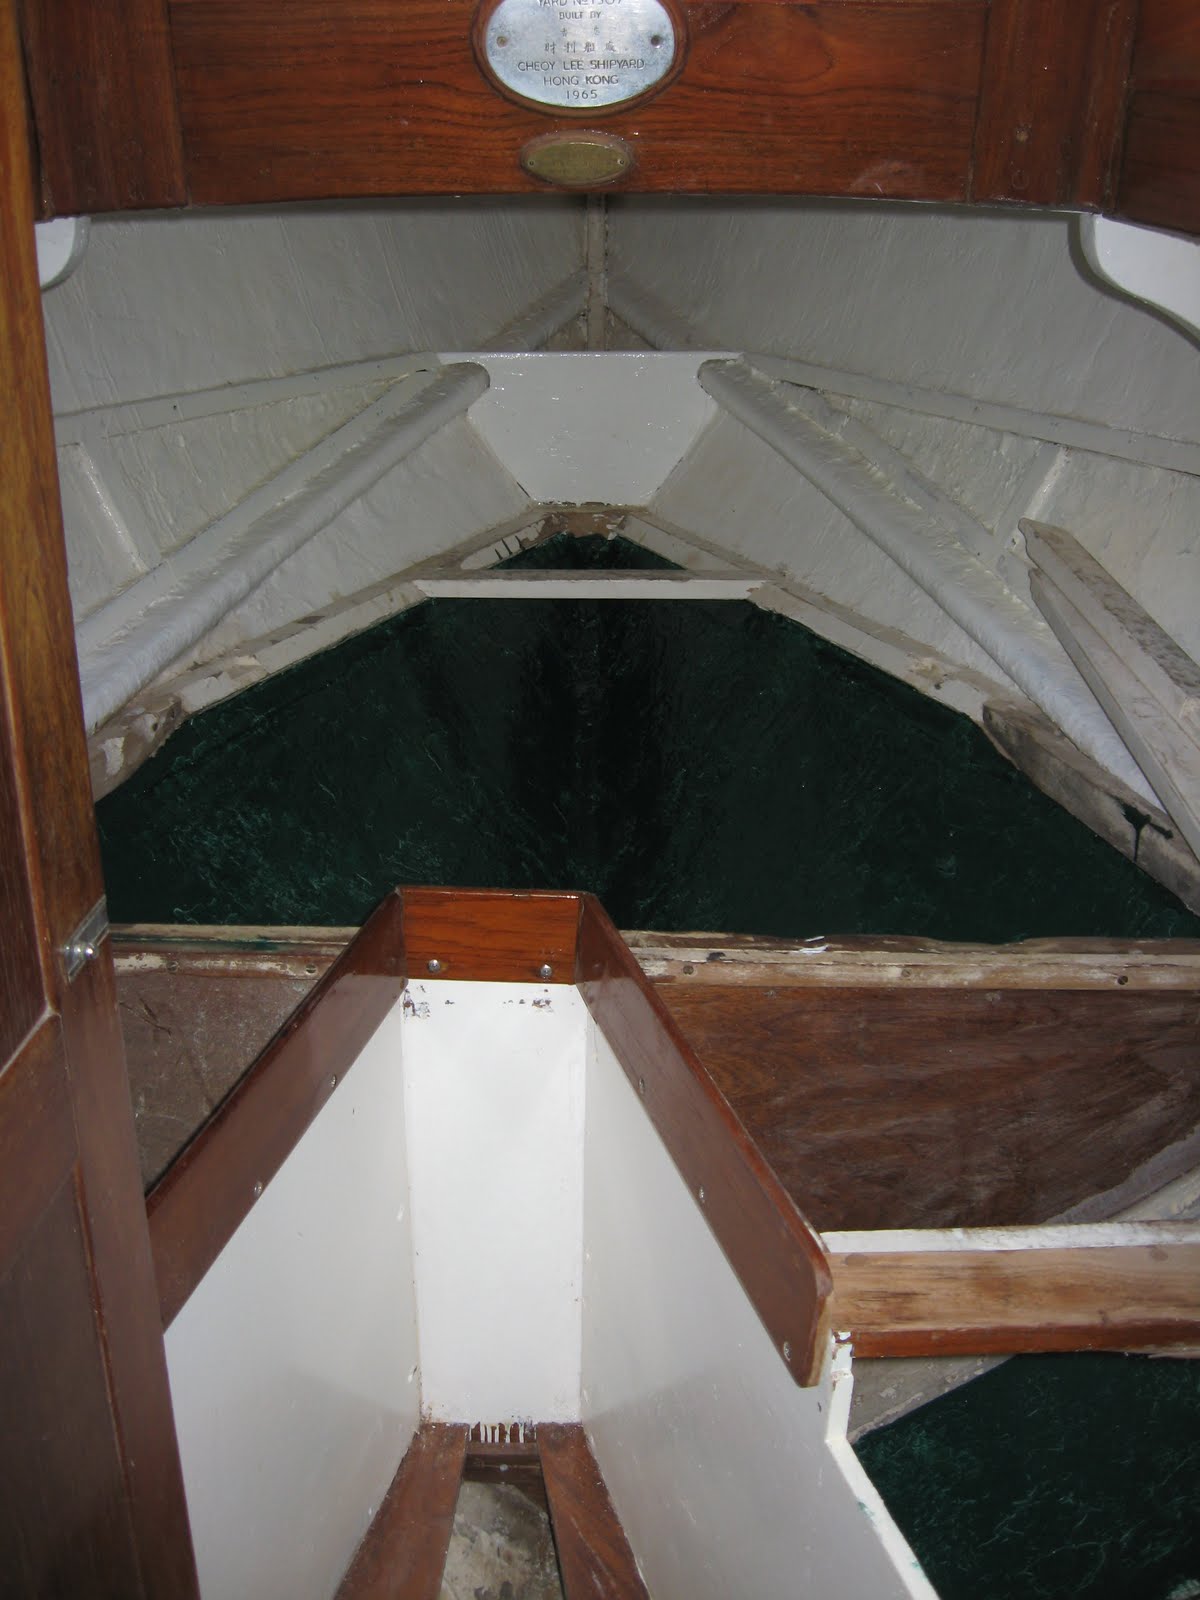
Between 1957 and 1970 Cheoy Lee produced approximatley 133 folkboats originaly sold as the the Offshore 25, better known as the Frisco Flyer. There were three versions of this small blue-water boat. 91 in all wood and 42 in Fiberglass with wood. There were 55 Type I's and II's and 78 of the Type III's. The Type I (aka the Pacific Clipper) was an all wood boat, had a mast that was stepped through the deck, a traditional folkboat fractional rig and a smaller cabin. The Type II's had a larger teak trunk cabin and a masthead rig. The Type III's had a larger teak dog-house cabin, some "standing" headroom and a masthead rig stepped on deck. The earlier Type III's were solid teak built onto a fiberglass hull and the later Type III’s (1966-1970) were made entirely out of fiberglass with teak paneling.
This boat, Yard # 1507 is one of approximatley only 30 Type III's left. It was out of the water for the previous 16 years when I got it and then about another 5 more while I rebuilt it. It was an empty, cracked hull when given to me and needed a complete restoration/refit. It took about five years of long nights and weekends of working outside under a tarp, in the garage or in the boat during cold winter nights, wet rainy afternoons and everything in between. The occasionally eager assistant on the project was my four (now ten) year old daughter who can have this boat as soon as I convince her mother to get another one. This blog is the record of all the work that "we" have done to the boat as well as some other somewhat related events with friends and family. Eventually, this will be put together in a book which will stay with the boat.
She still has plenty more to go but for now, Jackaroe has been in the water for a couple years now and thats all that matters...
To see past projects, use the links below.
Questions and comments to Matthewearlgarthwait@gmail.com
Since the Fall, not much has happened to the boat. From here on, the big things left are to do the final glue up on the mast, to finish the rudder, to put the toe rail on and to drop the motor in. When the holidays were here Maki suggested decorating the boat....
Back in April a couple of us went to a boat yard in Maine where we were hoping to pick up a few things for the fleet. The word was that there was a yard selling bits and pieces off of their older inventory and it was a kind of self serve situation. Go in, rummage around, grab what you want and agree on a price. We got there and there was some cool, old bronze bits and plenty of useful things. I was tempted to pick up these three inch bronze cowls because while I have the old Nicro cowls, I really want a nice pair of bronze ones. These bronze though were abut ten inches high and looked like a corn a copia.
In the end, I picked up a small portlight, a small bronze (yard made) snubbing winch, a small Merriman wich and two small bronze Merriman winch holders and a Merriman winch to fit ( I have one already that came with the boat). My Box.......
What was cooler than the stuff on the inside was the stuff on the outside.
There was a lot of nice boats but the one that caught my eye was a small pilot sloop that someone was just finishing after six years of work.
Inside and out, this thing seems to have been built strong.
This weekend, it was sunny and cool and I painted the cove stripe/CL scroll gold. I used One shot sign painters gold paint. It took a really long time because I didn't tape it off (because it was recessed/routed into the hull) but it really needed a steady hand to make it look smooth/uniform. All in all, it looks great and I'm really glad to see the outside of this boat come to a finish.
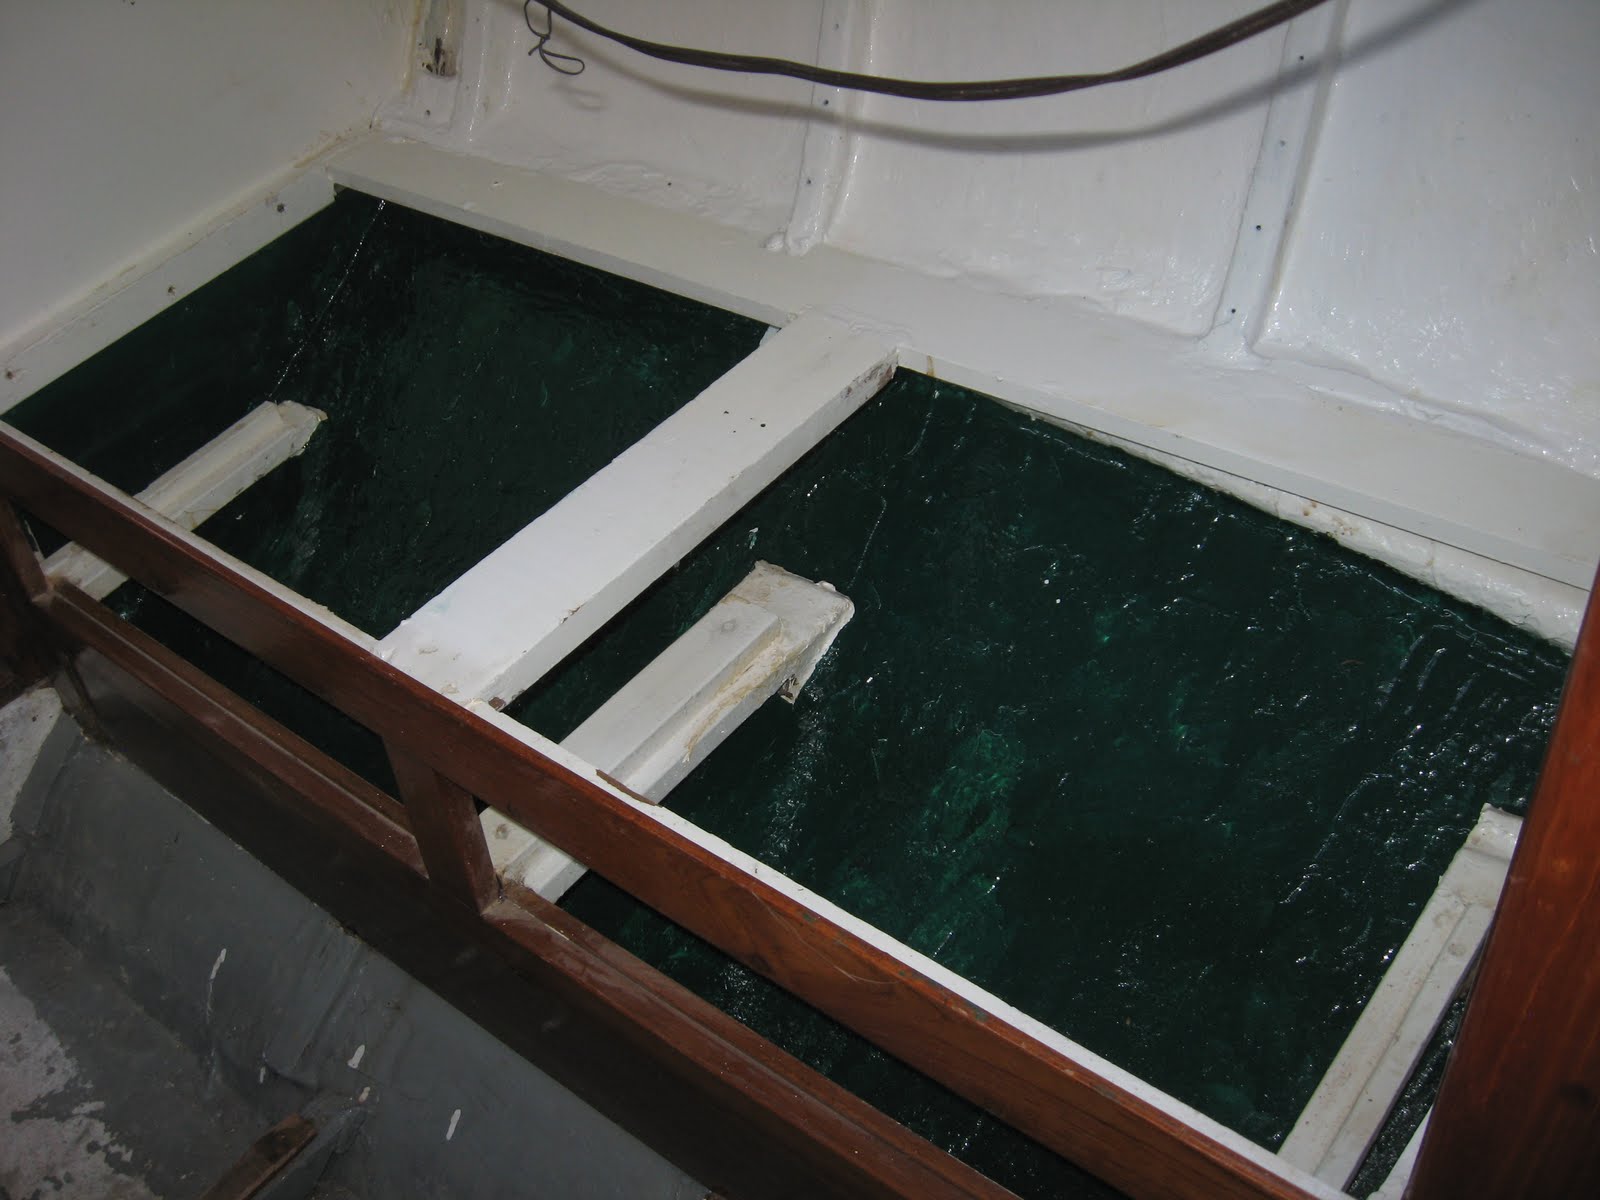
Back in May, I sanded, vacuumed, washed with solvent, then laid down some mat and cloth fiberglass. A couple layers on all the corners under the seating and cabinets. I wanted to paint these areas but thought it would be a good idea to reinforce them first.
After all the glass was in, sanded, vacuumed, wiped down with solvent, and finally given a couple of coats of Interlux one part poly. Now the hull will be sealed from water intrusion, inside and out!
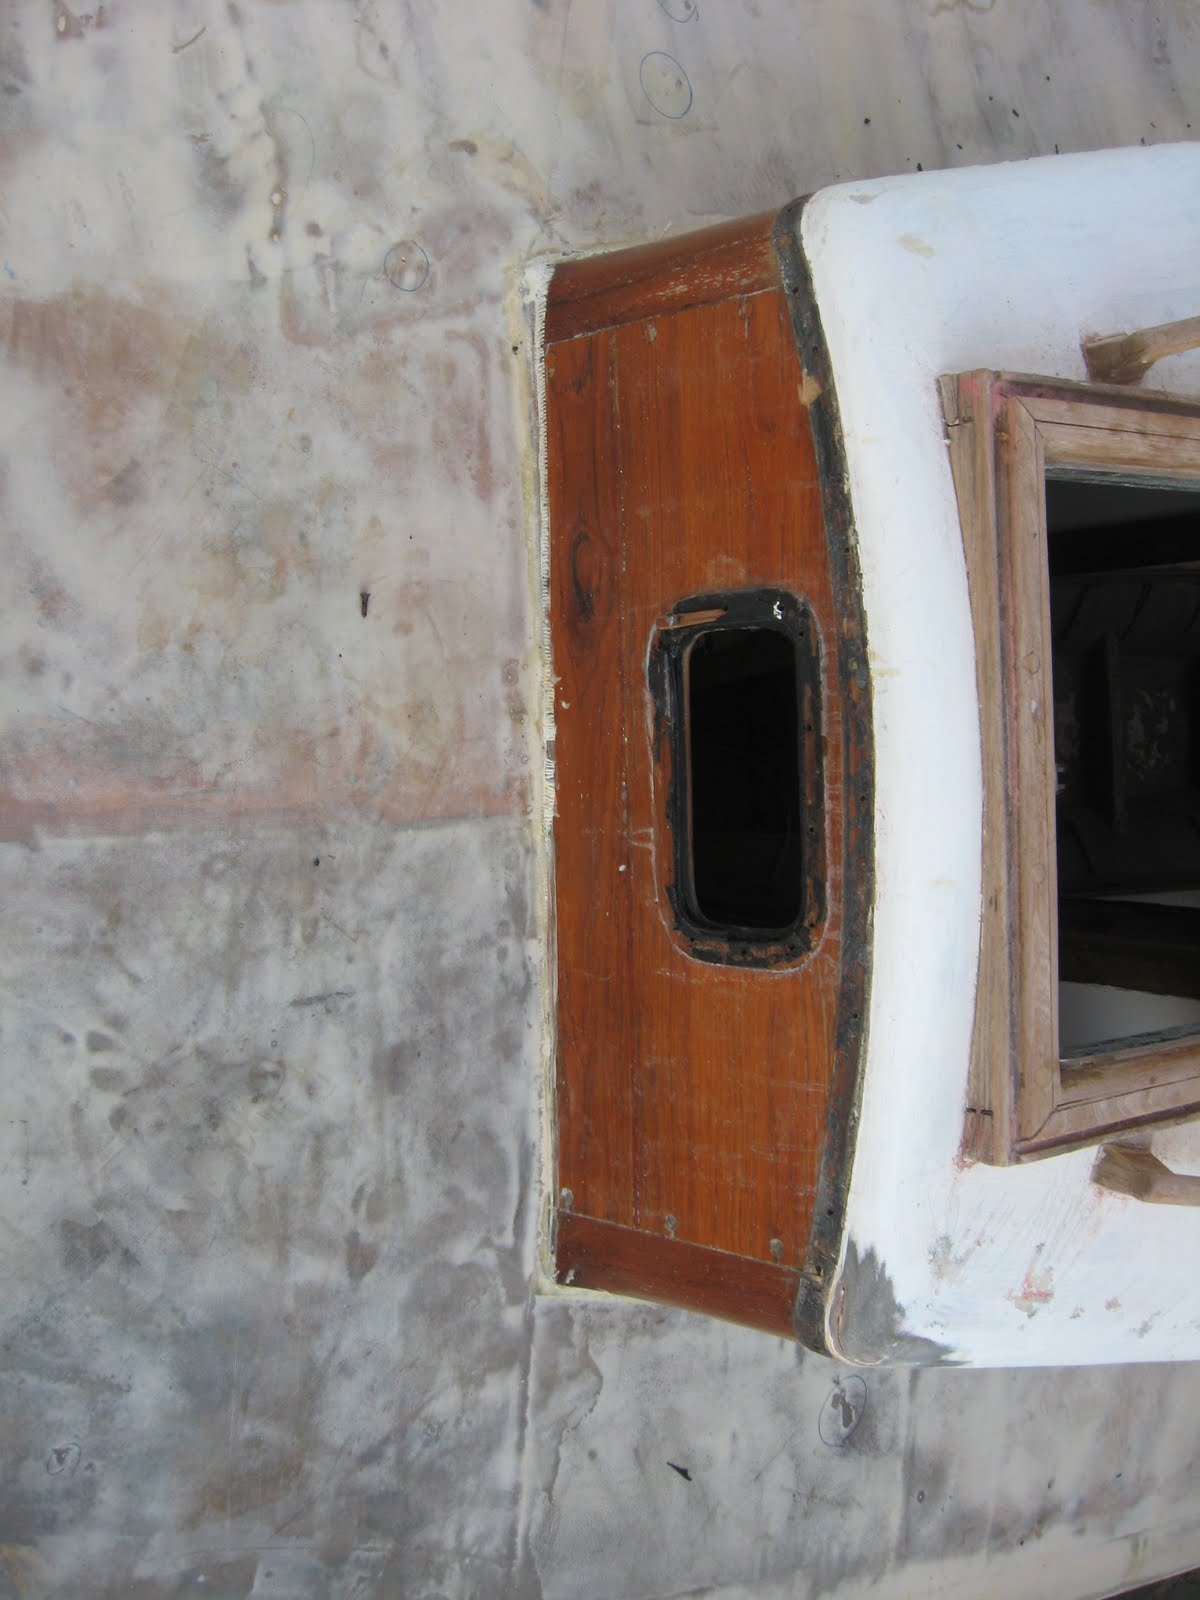
While working on fixing some leaks in the cabin house roof, I found that some of the old fiberglass either didnt cover all the way down to the trim piece and was letting water in or it used to reach all the way but has since cracked and water has crept in. I decided the best thing to do was to take the molding off to make sure the seal around the cabin house roof were 100% all the way around. The pieces didn't come off easily, and I wish I saved those corner pieces!
I was able to get Flyer drawings from Cheoy Lee last year but I was only able to get a Type I drawing. Came across this Type III drawing and a great picture...
Sheerclamp nightmare…. I was checking my handywork on the starboard side sheerclamp and while the big piece of oak that I had put in last year was bomb proof, I did find a little more rot on both sides. I haven’t really decided how to handle this yet. Part of me wants to clean out all rotten bits from the inside before replacing it with new wood, all from the inside. The other idea I had which could be easier in some ways but more painful in others would be to open up two small holes in the bow and after cleaning out all the rot from the inside, I could slide in new pieces in from the bow openings and epoxy in place. Not quite sure on this one yet. I hate having to go back and do some of this stuff after the rest of the boat has come so far. We’ll see.
Along the same lines of crack repairs.. I wasn’t satified with the way I had decided to repair the cabin house. I had just planned on fixing any leaks in the roof but after taking of the trim pieces around the edges I wasn’t happy with the way it looked at all and was worried about water eventually working its way into there eventually. I started to think about sanding the whole thing and applying a thin hardwood veneer over it. Cut out the portlight openings, trim top and bottom and epoxy in place. The inside will stay as it is but hopefully with the outside completely covered in a new layer of wood and sealant, that too should be water tight for years to come…..